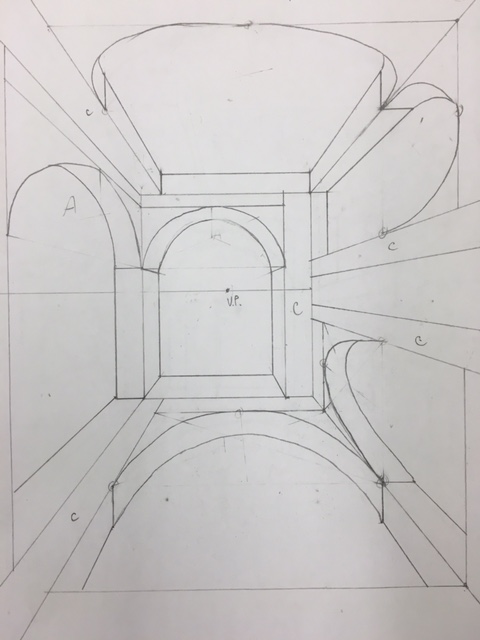
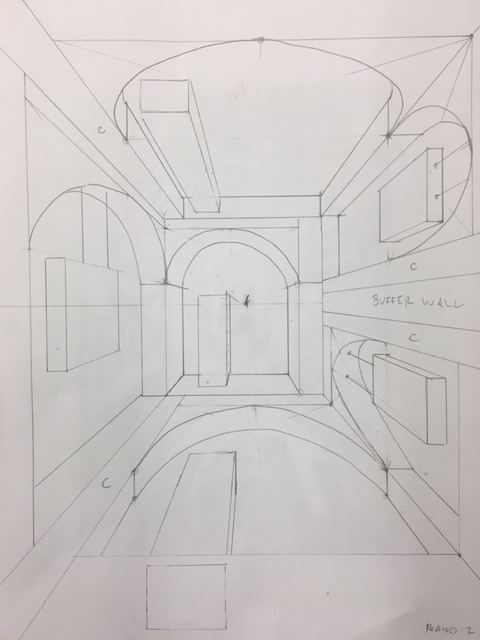
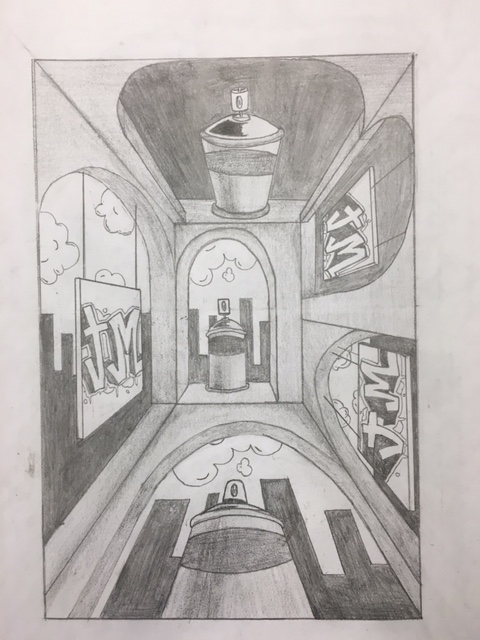
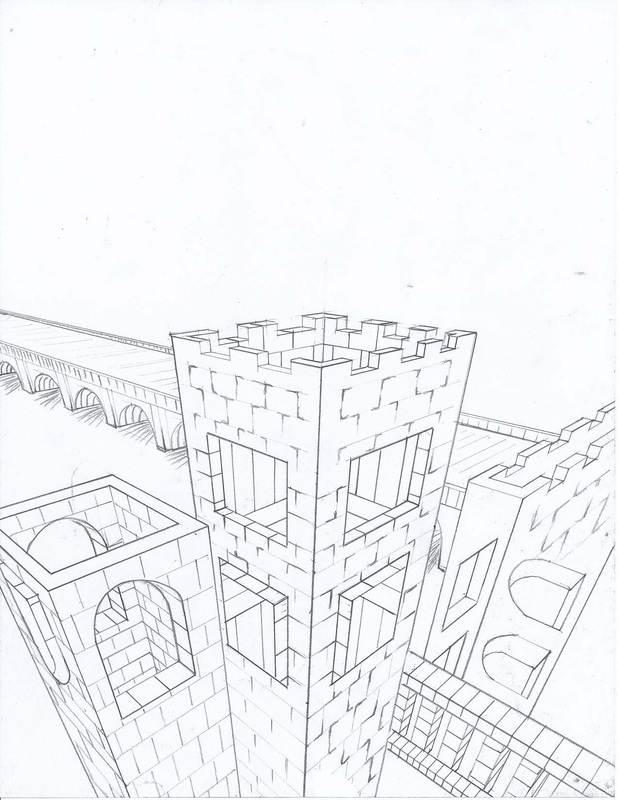
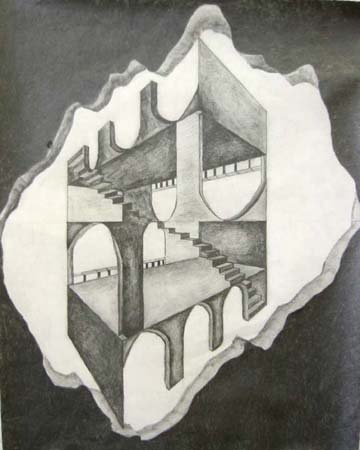
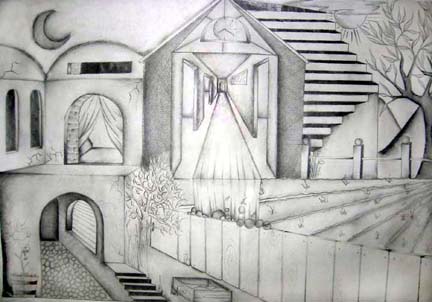
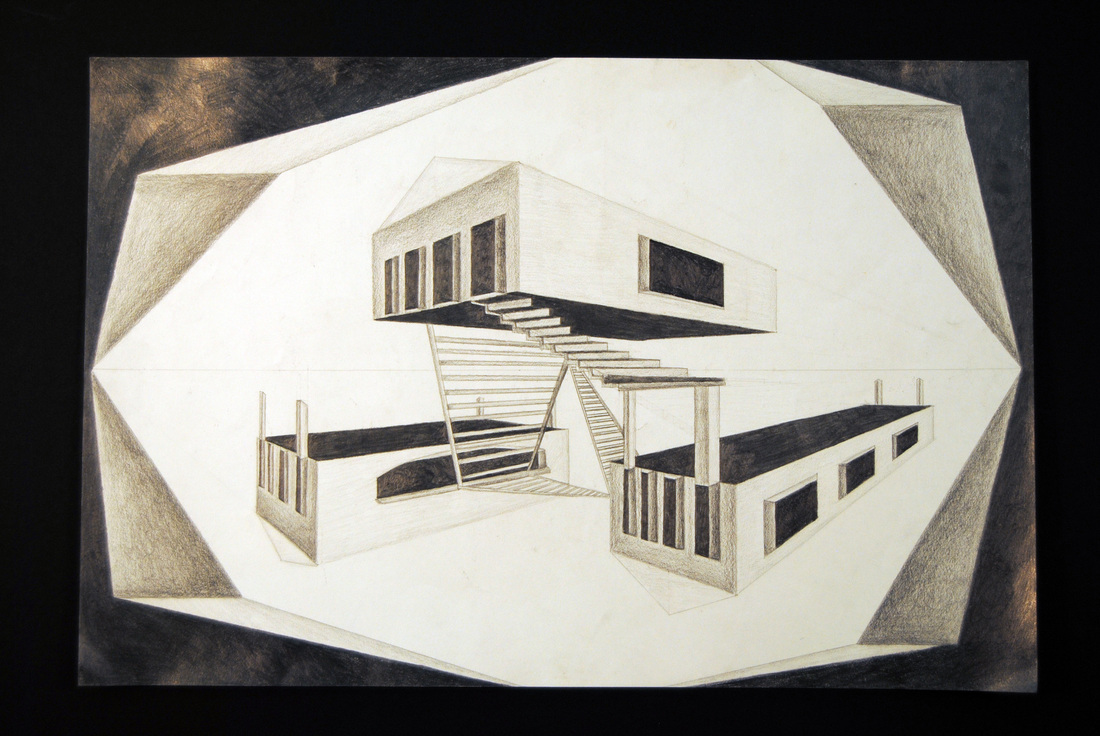
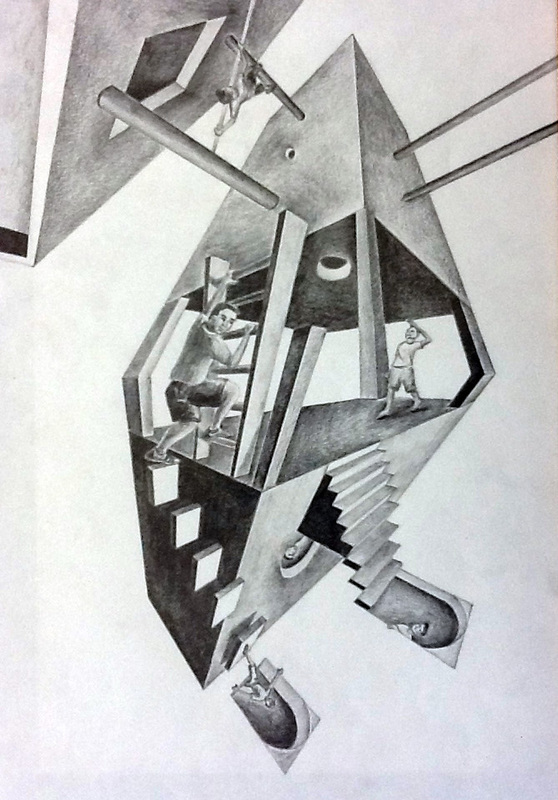
In the Gallery below is the image that M.C. Escher created after he listened to Theoretical Physicist Roger Penrose. He was inspired to create images that were impossible. This first image actually follows the rules for 1 point perspective perfectly, but he has shown the normal scene of the bird and horn in 3 different angles. We have created the perspective of the arches and you will need to replace the bird and the horn with something you can draw in the 3 different angles. After Eschers original image are some examples of the process, what simple squared form looks like in the angle changes, and 4 examples of the final solution students have created. To earn an "A" on this mini 100 point project, you must not only replace the bird and horn with your own form in the 3 angles, but show a value change at each wall side change. You can use line patterns to show value, shade to show value, or combine shading with line work...
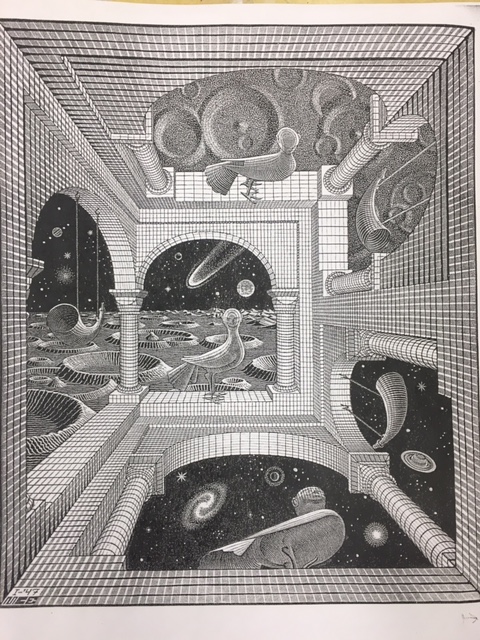
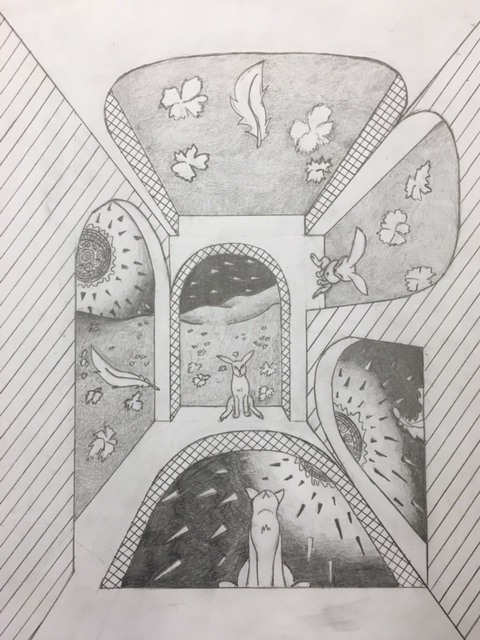
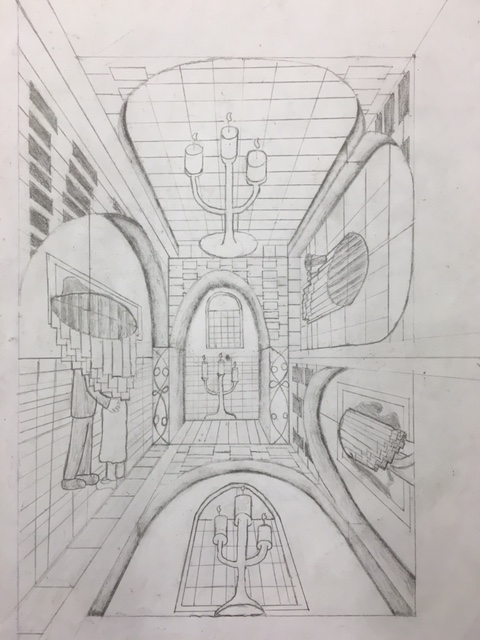
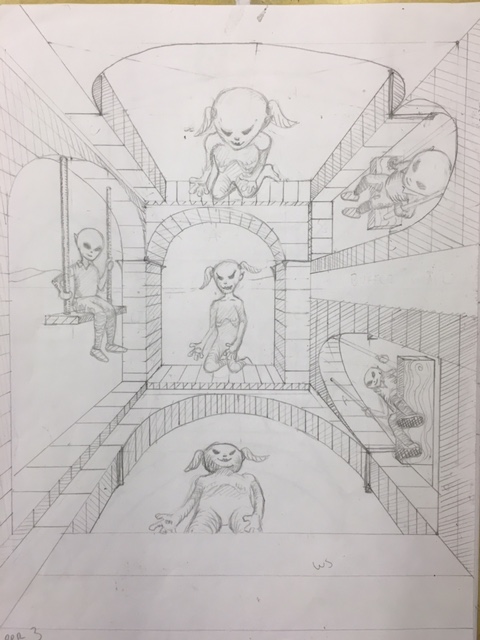
How to get your brain around the manipulations in perspective... I break down some of M.C. Escher's tricks!
Perspective Unit: Creating the impossible on paper
create an impossible perspective project using relativity and the systems of perspective.
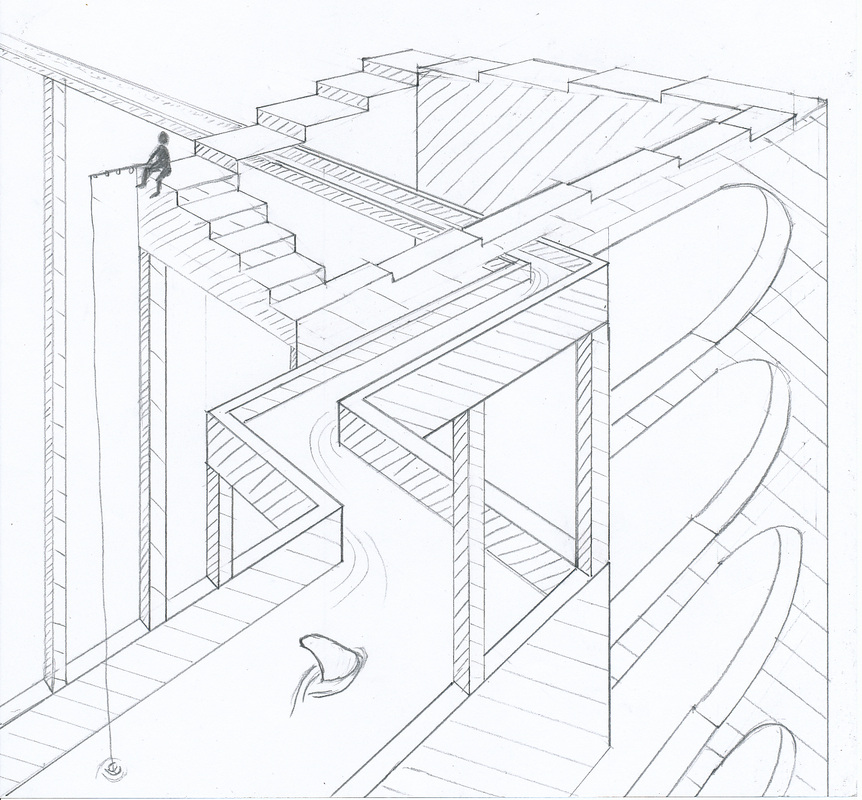
Your project should show an understanding of the knowledge of perspective systems and give the viewer a visually strong image with great contrast of value. The image should take us to a place that is confusing and could not be a place we have visisted or could truly visit...
How to get started?:
1. Choose where to put your horizon line...
Do you want birds eye view, normal view, or worms eye? Do you want your horizon strait across or do you want want to tilt it for affect?
2. Choose what system you will use: 1 point, 2 point, or 3 point.
3. Give yourself a mental anchor. That is to create something to establish a base to build on. Could be a building, or the 2 box trick, or the waterfall trick...
4. Now mess with that normal and the reality of what you are showing to the viewer. This is where you bring in the ideas of relativity, or convex and concave. You can turn the page, make your windows insides go to the wrong V.P.
5. Now work in contrast and add figures. You can shade the image, or use line work, but the viewer should be clear when the form turns direction because of the strong contrast of value.
In the box are videos offering instruction on how to manipulate perspective and other drawing instruction. If the video is not playing click the down arrow the top right corner and make sure you set the video to what you need (preview).
Click here to see videos.
Click here to see videos.
